Positioning stamps with the Layout Wizard
We will now design a page for the first stamps of Victoria. The first series is from 1850 and consists of three stamps: 1 p. (brownish red), 2 p. (lilac) and 3 p. (blue). All stamps have the same size: 20 x 26mm. The frame around the stamp will be a bit larger than the stamp of course. You will notice that Stamp Album Studio will add some white space automatically.
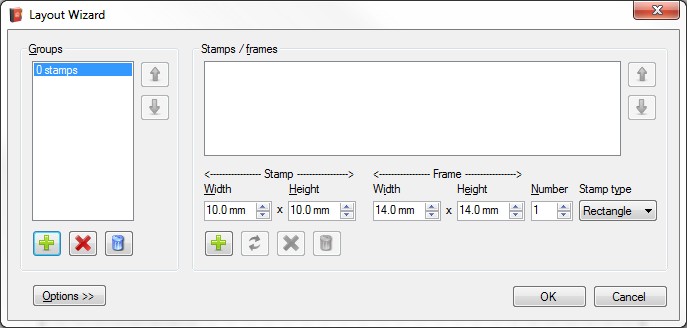
We now start the Layout Wizard. This can be done through the Ribbon Tab "Page" and then the option Layout Wizard. The Layout Wizard will now be shown:
With the left part of the screen groups (or series) can be maintained. With the right part stamps of a group can be maintained. You can see that the stamp size as well as the frame size can be entered.
In the fields "Width" and "Height" of the stamp we fill in 20 and 26. You will notice that the frame size will be filled in automatically: 24 x 30 mm. Next we fill in 3 for the "Number" field and we press the Add  button.
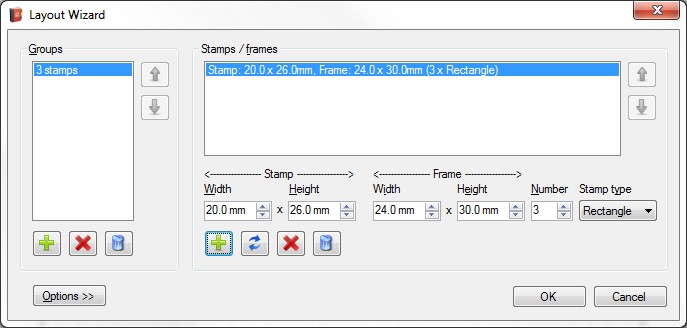
The Layout Wizard now shows that 1 group of 3 rectangular stamps with sizes of 24 x 30 mm will be drawn.When we press the OK button our first page now looks like this:
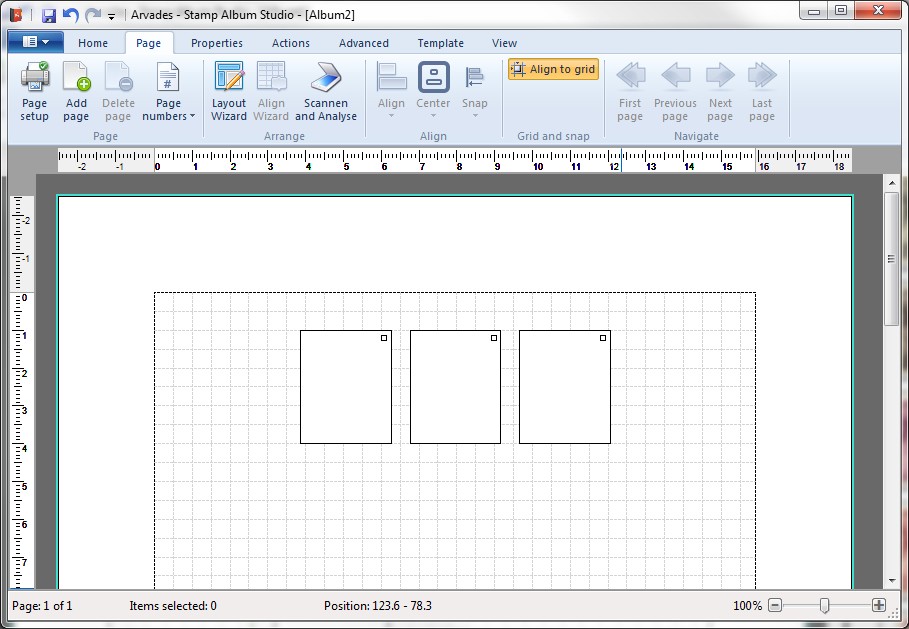
The three stamps are drawn at the top of the page and are horizontally centered. The white squares in the upper right corner of the stamp indicate that they belong to the same series.
When you press CTRL + A on your keyboard green rectangles appear:
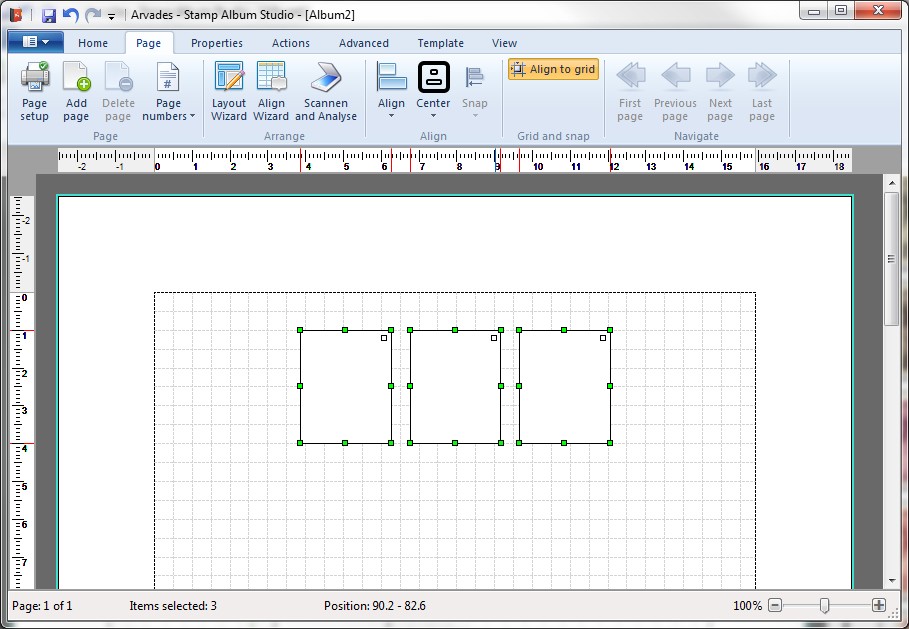
The green rectangles ('sizing handles') indicate that the stamps are selected and that operations can be performed on them (through the menu or with the toolbars). The 'sizing handles' are also meant to resize the objects with the mouse.
Note:
In the online Help all options and possibilities of the Layout Wizard are described in detail. The term 'group' will also be explained in more detail.
Copyright © 2015, Arvades